Site install
Type the code you were given.
MikroTik script
Paste it in WebFig
-
On a computer on the site LAN, open this site’s gateway in the browser. The gateway is the .1 address of this site’s LAN.
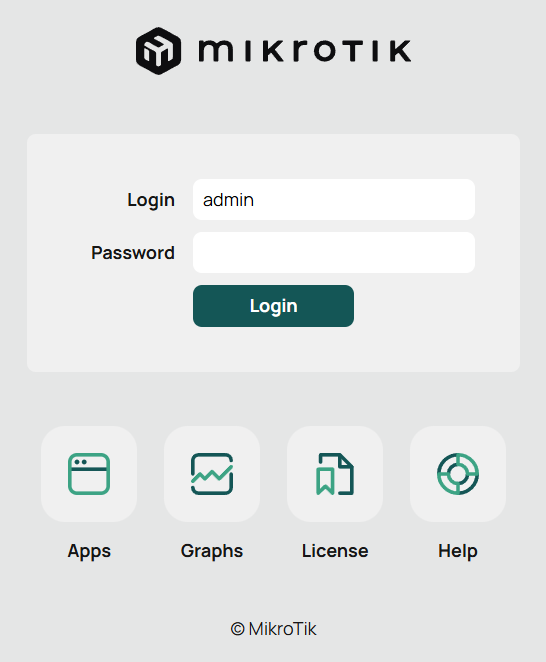
The address bar is this site’s router, not a lab address. Sign in with the router admin account. -
Click Terminal in the top bar, next to Advanced.

Terminal sits in the top bar beside Advanced. -
Click the terminal and paste the script (right-click or Ctrl+V). Let it finish. The prompt should return with no failure: or syntax error lines.
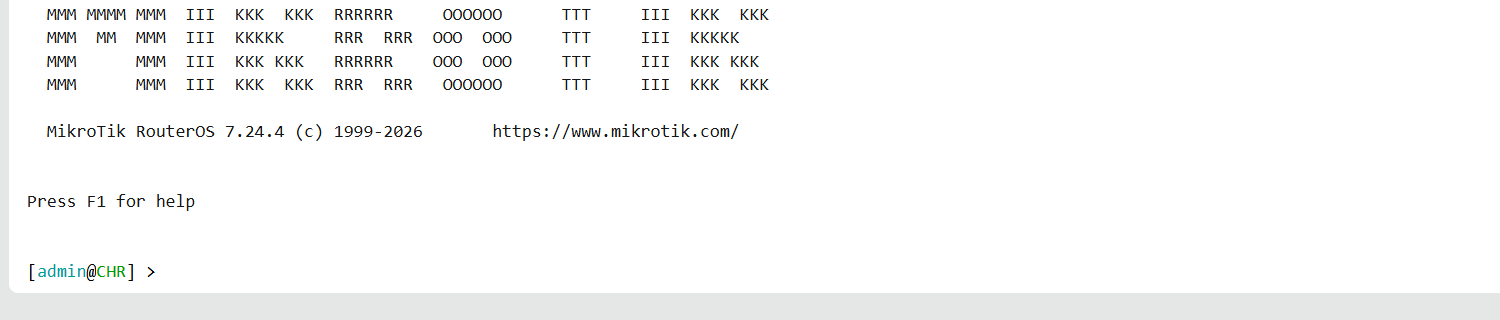
Paste the whole script at this prompt. The name in brackets is this router’s name.
Check it outside the terminal
Click Advanced in the top bar. These pictures are from a lab router. On this site, the comment starts with 247VPN and the addresses match the script you just pasted.
-
In the left menu open IP, then IPsec, then the Policies tab. There is one 247VPN row. Tunnel is yes, Action is encrypt, and Level is require. Src. Address is this site’s overlay. Dst. Address is the central host.

IP, then IPsec, then Policies. The lab row is 10.240.1.0/24 to 10.50.20.25/32. Yours follows the script. -
In the left menu open IP, then Firewall, then the NAT tab. Two netmap rows start with 247VPN. The srcnat netmap is above the site’s masquerade rule. The dstnat netmap is there as well.

IP, then Firewall, then NAT. The srcnat netmap sits above masquerade. -
Stay in Firewall and open Filter Rules. The 247VPN rows are above the fasttrack rule. They accept the central host to the devices for this site, then drop other VPN traffic.
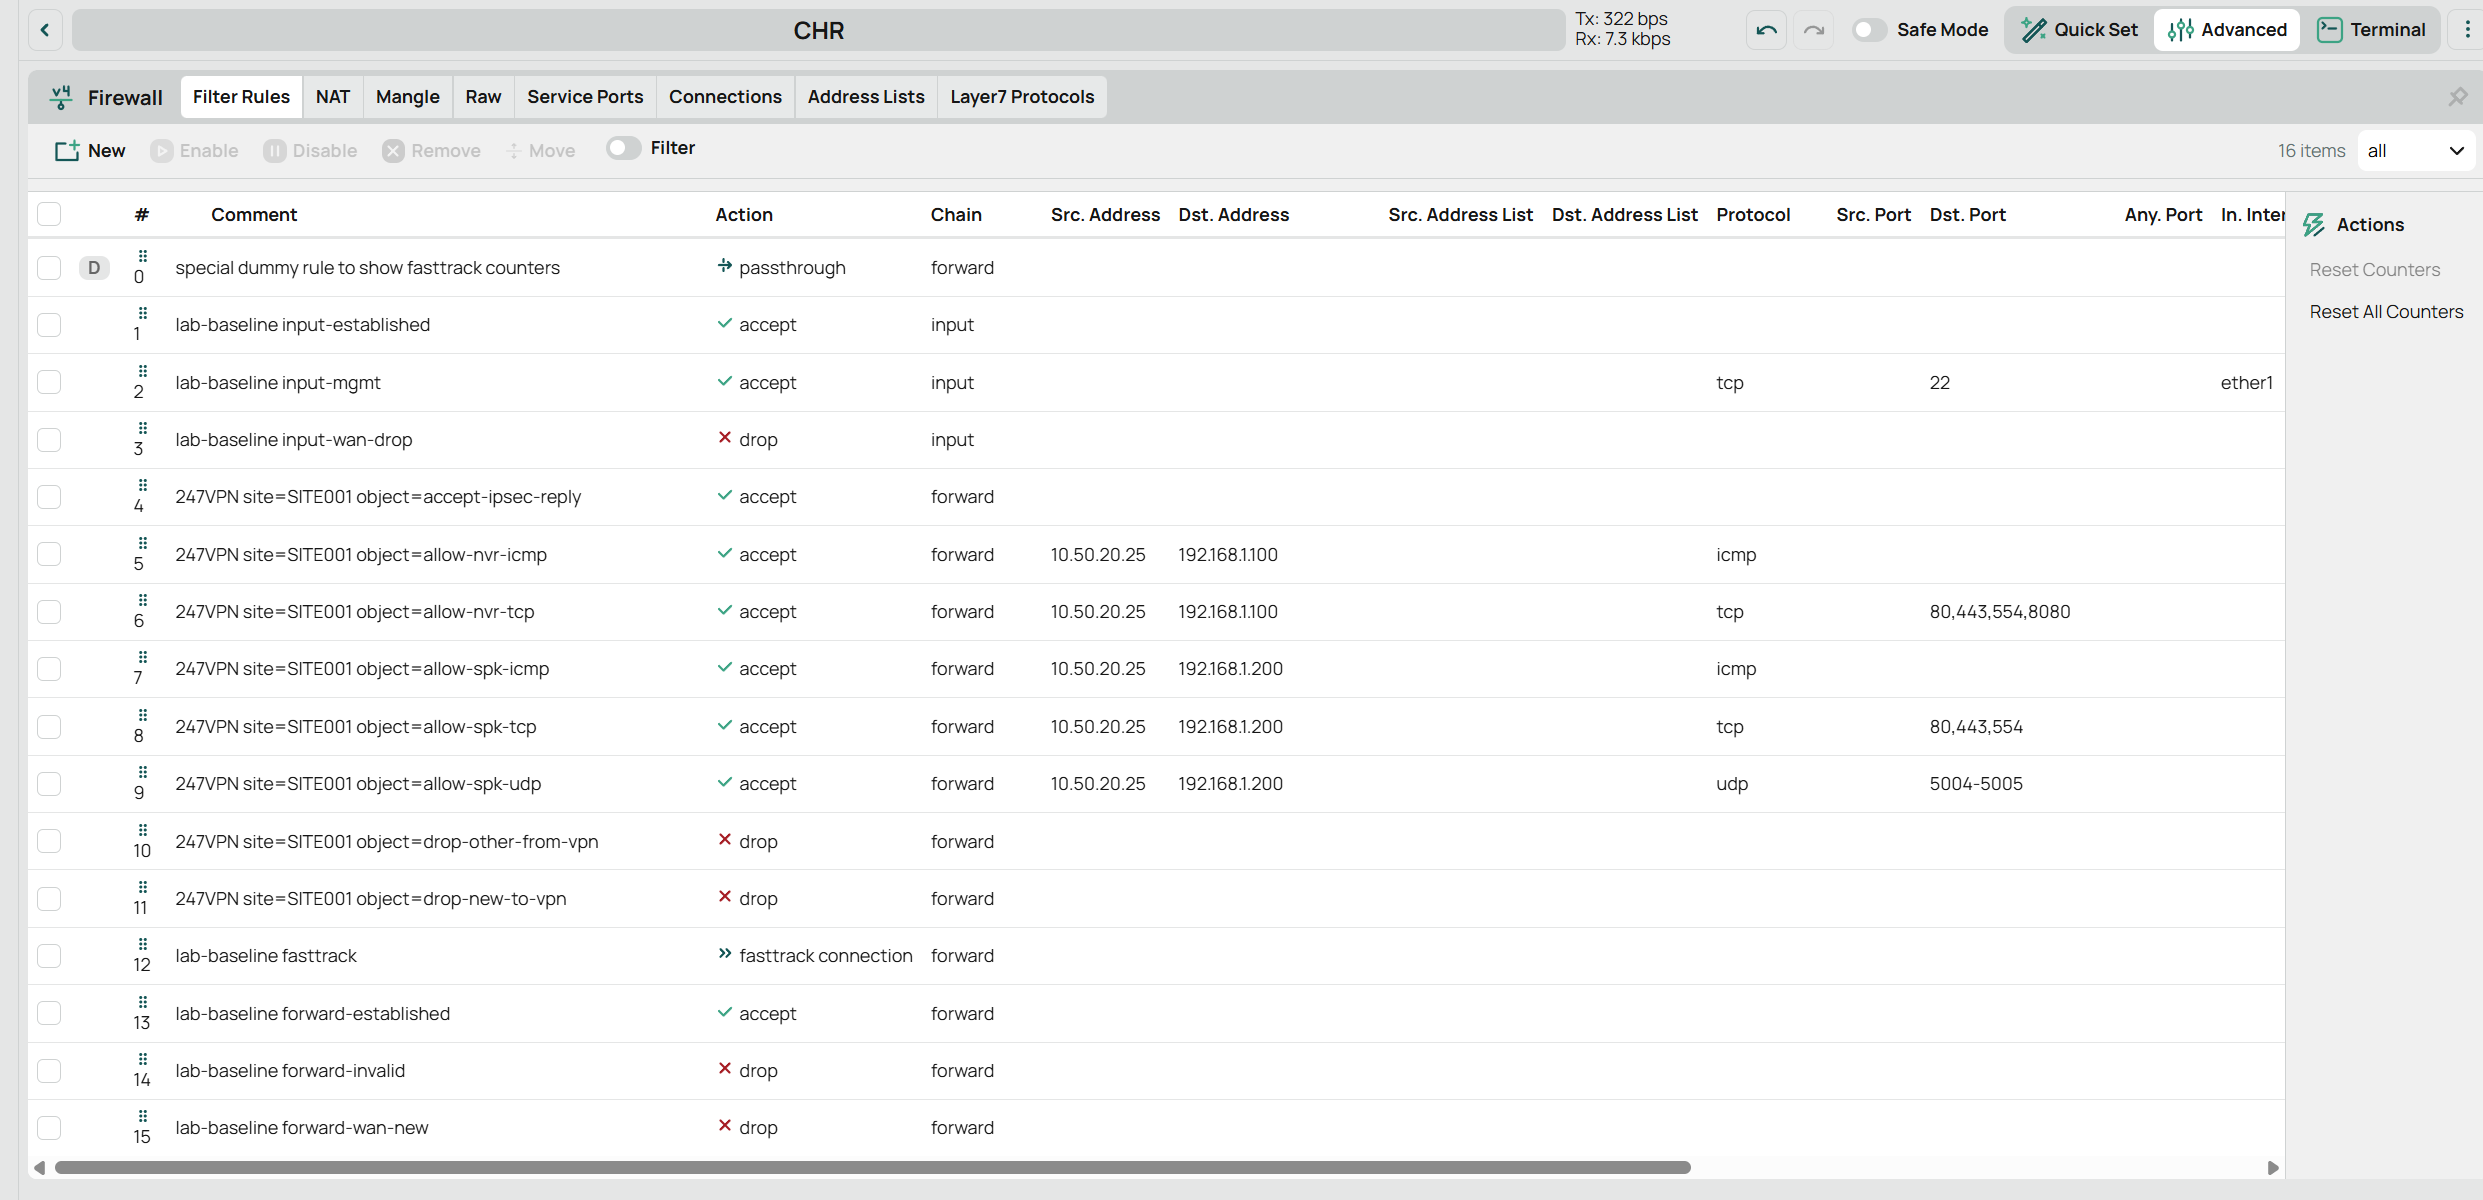
Filter Rules. Every 247VPN row is above the fasttrack rule.